Setting Up Onsip Soft Phone
From ISoft Wiki
Revision as of 11:42, 12 December 2011 by Broy (talk | contribs) (→To set up the Onsip softphone:: Fixed some of the steps involved in configuring the phone, notably step 3, which was completely wrong previously.)
To set up the Onsip softphone:
- Download and install the X-Lite software phone: http://download.cnet.com/X-Lite/3000-2349_4-10547103.html
- After installation, X-Lite will require you to set up an account. Your system administration should be able to send you an email with your account details, or otherwise provide them to you.
- Under the Softphone menu in X-Lite, choose "Account Settings."
- Fill in all of the fields according to the guide below, using the account details obtained in step 2, and hit OK.
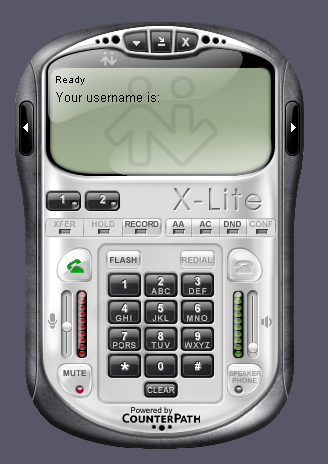
- If all went as planned, your phone should be ready to use. The display will say "Your username is: <username>".
- If "Registration error: 401 - Unauthorized" shows up on the phone's display, then you will need to make sure all of your account information is correct.
Account Fields:
- Display Name: <Whatever you want>
- User Name: <Username>
- Password: <SIP Password>
- Authorization user name: <Auth Username>
- Domain: <Proxy/Domain>
In X-Lite 4:
- User ID: <Username>
- Domain: isoftdata.onsip.com
- Password: <SIP Password>
- Display Name: <Whatever you want>
- Authorization name: <Auth Username>
Under Domain Proxy, make sure the "Register with domain and receive calls" box is checked, the "Domain" radio button is selected, and the address is "isoftdata.onsip.com".
