HeavyTruckParts.net/User Guide
Loggin In/Control Panel
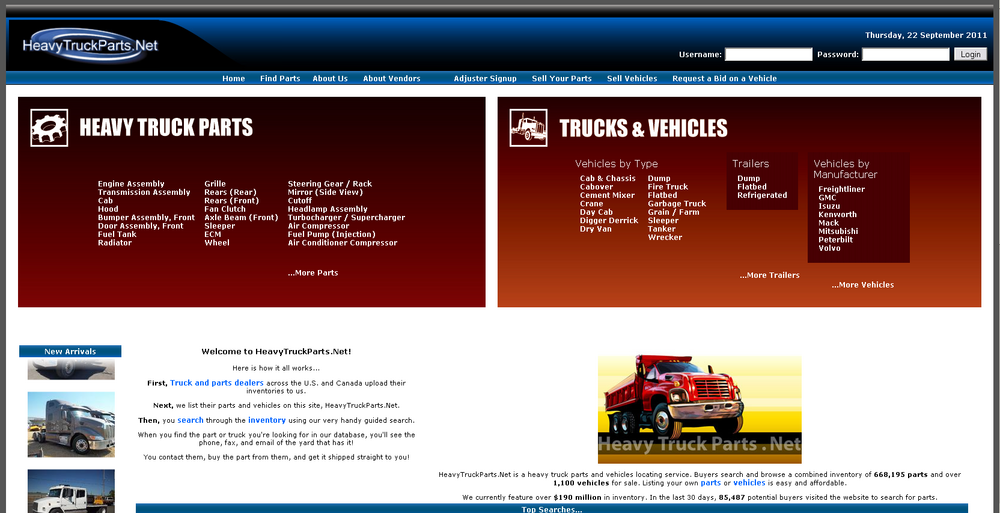
From the HeavyTruckParts.Net main page, enter in your Username and Password and click the Login button. The links [Logout] and [My Inventory] will then appear. Click the [My Inventory] button.
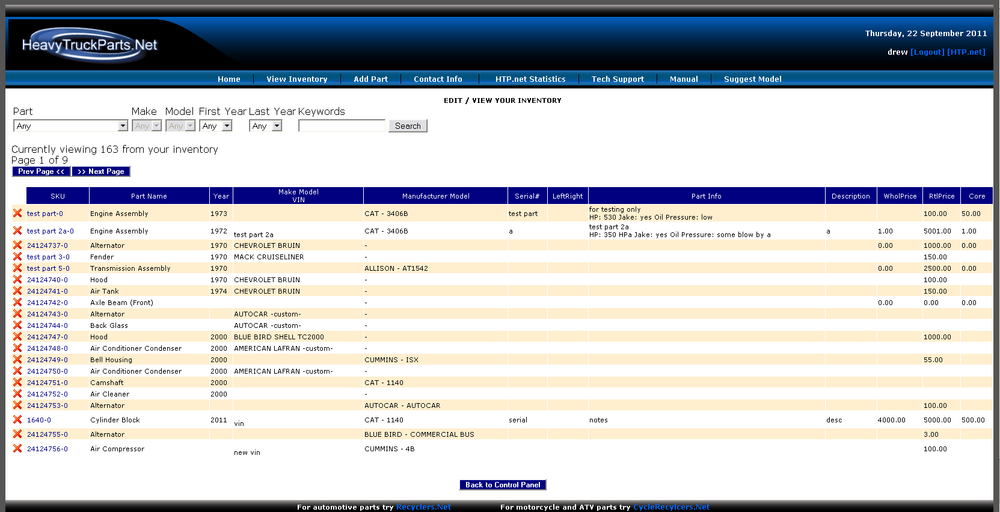
After opening the online inventory page, you can edit any of your information by clicking on the corresponding button. The first button is the View/Edit Inventory button. From this page you can view any item you've entered into your inventory. You can also edit information about your items.
Searching/Editing Inventory
To Search: Your inventory will be listed on this page. Click on any of the fields to sort your items. You can also search for your items by using the search capabilities. This is useful if you have many items uploaded to the website. To edit an item, simply click on its SKU number. This will bring up the editing page and allow you to make changes. We recommend that you fill in as much information as possible so buyers know more about your item. To add more pictures to your item, click the Edit Images button. When you are finished updating the item, click the Save Part button.
Adding a Part
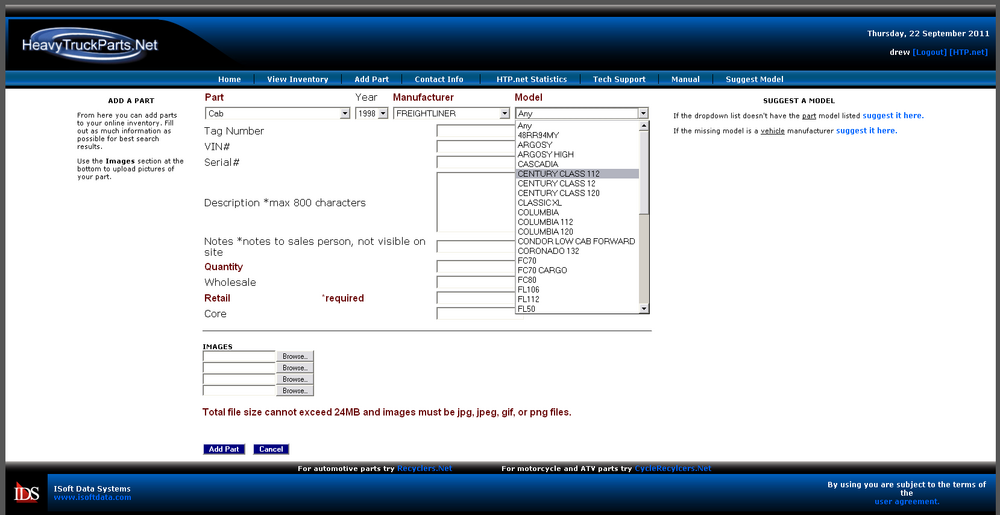
Clicking on the Add a Part button will allow you to add more parts to the website. Use the drop down boxes to select your part, its year, manufacturer and model. You can then type information into the fields blow. Required inputs are labeled in dark red. If the drop down list is missing the manufacturer or model you can submit them to us to have them added to the list using the links on the right of the page. If you have signed up for image capabilities, you an enter up to four images per item. To add an image, click the Browse button next to a blank image field. Select the folder where you store your images. Change the view of your images to thumbnails to see previews of your pictures. This will help assure that you're assigning the correct image to a part. Click on your picture and click the Open button.
The HeavyTruckParts.Net website will let you know that your part was added. From here you can check the part in a search (keep in mind it may not appear on the first page) and the detailed part view. Click Back to go back to the Control Panel to return to the main screen.
Deleting a Part
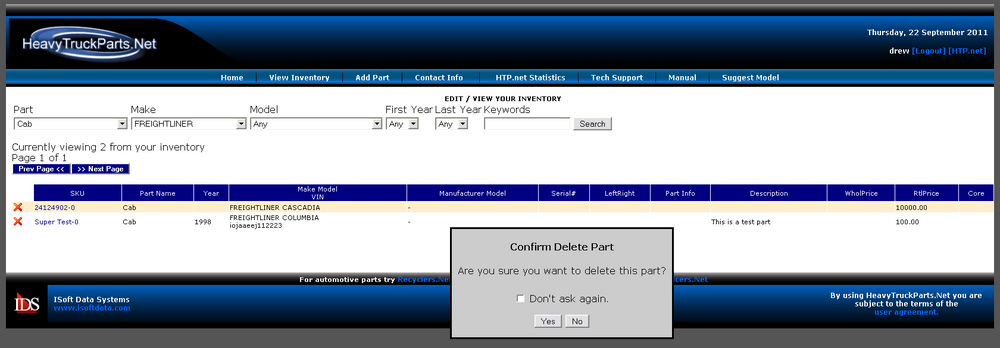
To delete a part, click on the orange "x" located to the left of an item. A dialog box will pop up and ask you to confirm the deletion. You can click the check box if you don't want to be asked for confirmation deleting a part.
Editing Contact Information
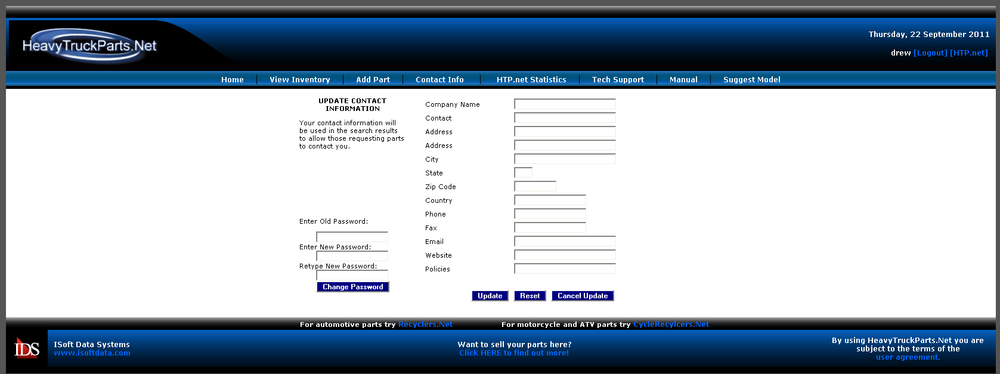
The final button is the Edit Contact Info Button. Clicking on this button will let you update your contact information. Make sure your contact listed is the person whose name you want to appear on the website. From this screen you can also change your password. Be sure to click the Update button when you are finished making changes.
