Brother QL-720NW
Setting Up the Label Printer Wirelessly
To print to the Brother QL-720NW label printer wirelessly, you first have to set it up on the network.
| Tip |
| You will only need to set up the printer on the network once. It is recommended that the computer you use to set up the tag printer is connected via wireless internet. |
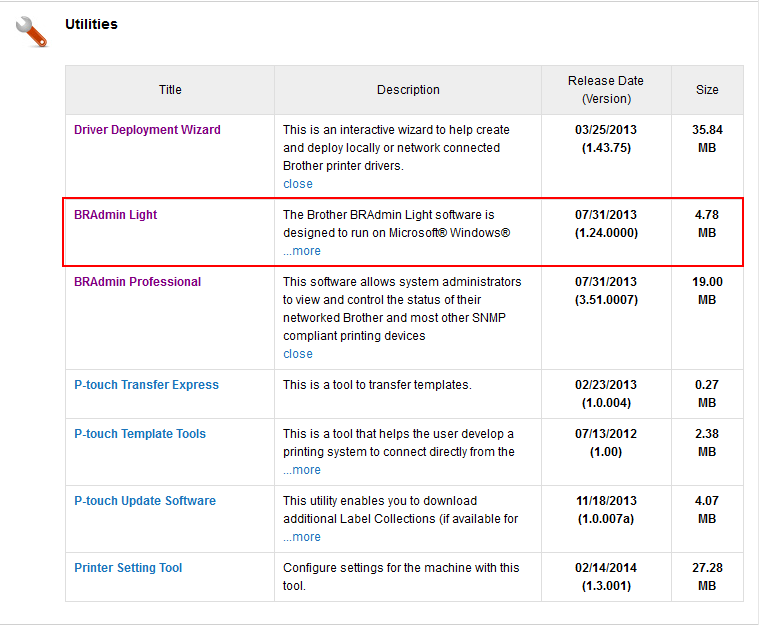
1. Choose a computer that you would like to do the initial installation on and insert the disk that came with the printer into the computer, then download and install the BRAdmin Light program from this website.

2. Once the BRAdmin Light program is installed on that machine, insert the driver disk into that computer and run it. If you can not find the disk, then you should be able to use the driver found on the Brother website: Click here for the driver.
3. When you begin the installation, you will want to select the 'Wireless Network Configuration' (leave Custom Install unchecked).

4. Next, select 'Brother Peer-to-Peer Network Printer'. This will configure the printer so that it is a stand-alone printer. It does not need to be hooked up to a computer or ethernet cable in order for workstations to print to it, it simply needs to be plugged in, turned on, and have access to wifi.

5. Select 'Change the Firewall port settings...' on the next dialog. This should allow the printer to communicate with workstations inside of your internal network.

6. When the Wireless Device Setup dialog appears, select 'Yes, I have a USB cable...'. Although you will be able to print to the label printer without a USB cord later on, the printer needs to grab wifi settings from your computer on its initial setup.

7. When this dialog appears, connect the USB cord to your computer. The dialog should recognize it and allow you to move to the next step.

8. On this step, you will want to check with your network administrator so that he knows you are connecting a wireless printer to your network. The network administrator will know of any settings on the network that prevent the label printer from printing. When you are ready, check the 'Checked and confirmed' check box and click 'Next'.

9. The printer should grab the wifi settings from your computer (assuming that the computer you are using is connected via wireless internet).
10. Another dialog will appear that shows you the network settings that the printer will have. It is recommended that the IP Address be set to 'Auto' so that the network can assign it an IP address.
11. Once the printer has grabbed the network settings you are free to disconnect the USB cable.

11. Disconnecting the USB cable will automatically bring up installing the printer itself, which is covered in the section below (starting at Step 6 of the workstation installation)
Installing the Label Printer on a workstation
1. Download the printer driver for the Brother QL-720NW from the Brother website: Click here for the driver.
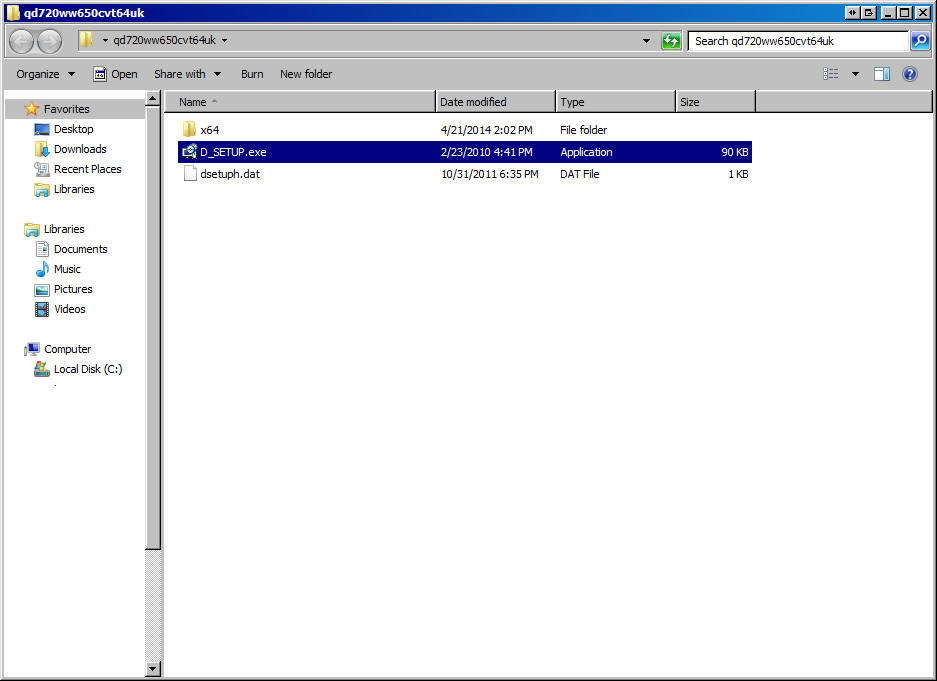
2. Unzip it, open the folder and double click on D_SETUP.exe
3. Select the 'Wireless Network Configuration' (leave Custom Install unchecked).

4. Next, select 'Brother Peer-to-Peer Network Printer'.

5. Select 'Change the Firewall port settings...' on the next dialog. This should allow the printer to communicate with workstations inside of your internal network.

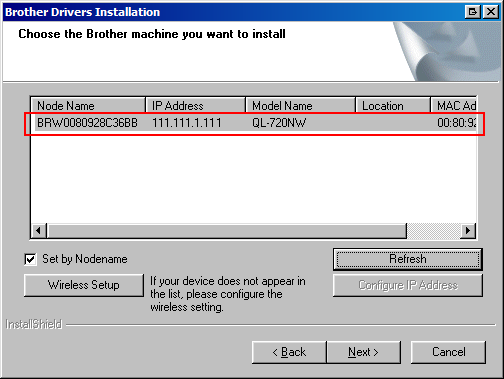
6. Once the label printer has been set up on the network (the section above) there should now be an entry in this dialog. Select it and hit next.

7. The install should complete, and the printer should now be set up on the workstation.
Configuring the Printer
1. Open 'Devices and Printers' on your computer and right-click on the Brother QL-720NW, then select 'Printer Properties'.
2. Under the General tab click on 'Preferences'.
3. A new window will appear. Set the paper size to the 'Small Address Label' setting (and make sure the orientation is set to 'Landscape'), then click OK.
4. Now click on the Advanced tab and click 'Printing Defaults'. A similar window to Step 3 will appear; just as in Step 3 change the paper size to the 'Small Address Label' and set the orientation to 'Landscape', then click OK.
5. The label printer should be configured now, you can print out a test page to make sure it works properly.
Additional Help
If you have difficulty you can:
- Call ISoft Technical Support: 1-800-929-1829 (Ext 3)
- Call Brother Technical Support: 1-877-427-6843
- Read through the Network User Guide.